Night & Low Light · 9 min read · June 10, 2026
How to Photograph the Northern Lights: A Complete Guide
To photograph the northern lights, use a sturdy tripod, a wide fast lens (f/2.8 or wider), and start at ISO 3200, f/2.8, and a 5-second shutter, focused manually on a bright star and shooting in RAW. From there it is all about reading the forecast and being in position before the show peaks. Here is the full method I use.
In this guide
The gear that actually matters
You need three things: a tripod, a lens that lets in a lot of light, and a camera you can put in full manual mode. The tripod is non-negotiable, because exposures of several seconds will never be sharp handheld. For the lens, fast and wide wins: a 14-24mm or 16-35mm at f/2.8, or a prime at f/1.8, lets you keep your ISO and shutter speed reasonable.
Bring more batteries than you think you need. Cold drains them fast, and the aurora has a way of arriving the moment you decide to head back to the car. Keep a spare in an inside pocket where your body heat keeps it alive.
Settings: a starting point, not a recipe
Begin at ISO 3200, your widest aperture, and a 5-second shutter, then adjust to the aurora in front of you. A faint, slow glow can take 10-15 seconds. A bright, fast-dancing display needs a shorter shutter, 2 to 4 seconds, or the curtains blur into a featureless smear and you lose all the structure that makes aurora photographs beautiful.
Shoot RAW, always. There is far more color and detail in the file than your screen shows you in the field, and white balance is much easier to correct later. Set white balance manually to around 3800-4200K so the snow stays neutral rather than going orange.
Reading the forecast
The aurora is driven by the sun, and it can be forecast. Watch the Kp index, a 0-to-9 scale of geomagnetic activity. The higher the Kp, the further south the aurora reaches and the more active it tends to be. Apps and the NOAA Space Weather Prediction Center will give you both a multi-day outlook and a 30-to-90-minute 'now-cast' that is far more reliable than the long-range guess.
Two things will ruin an otherwise perfect Kp number: clouds and the moon. Check a clear-sky forecast, and favor nights around the new moon so a bright moon doesn't wash out faint color.
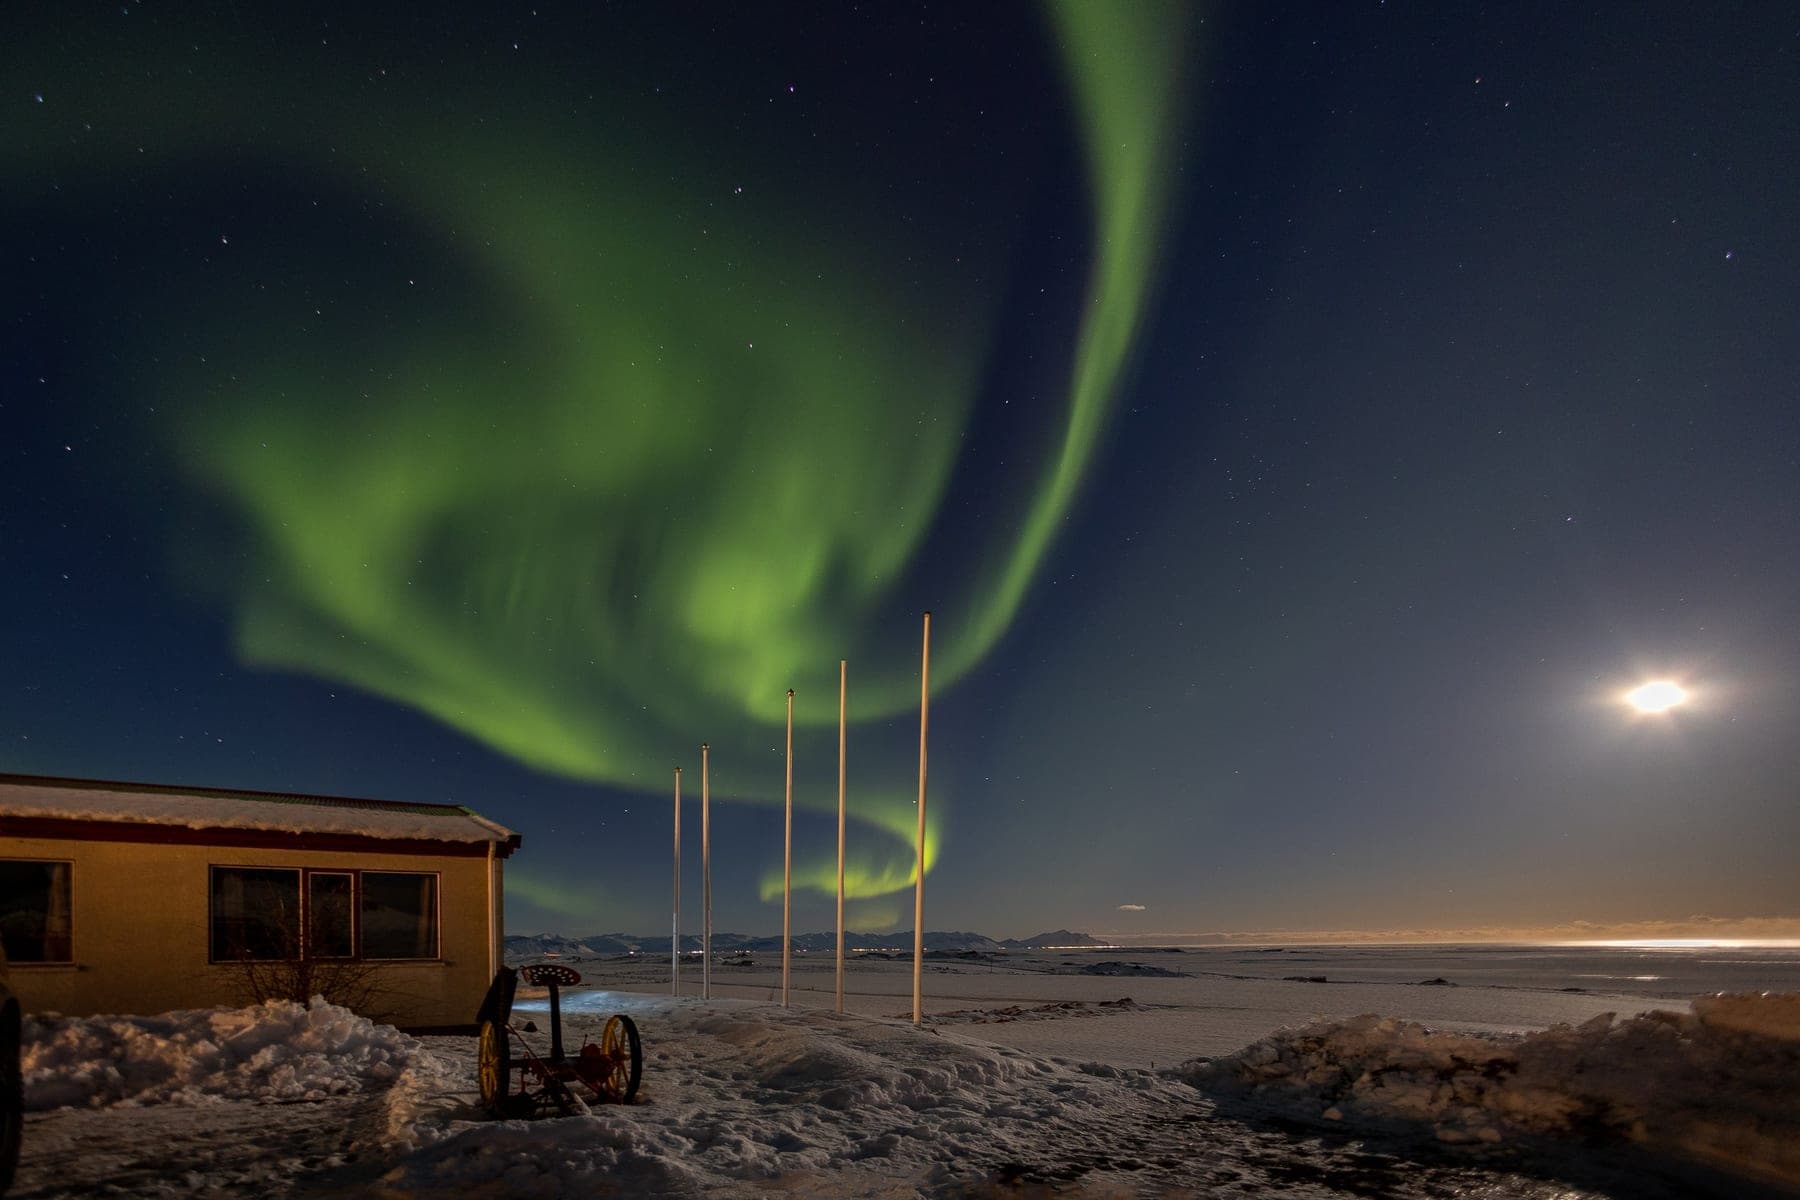
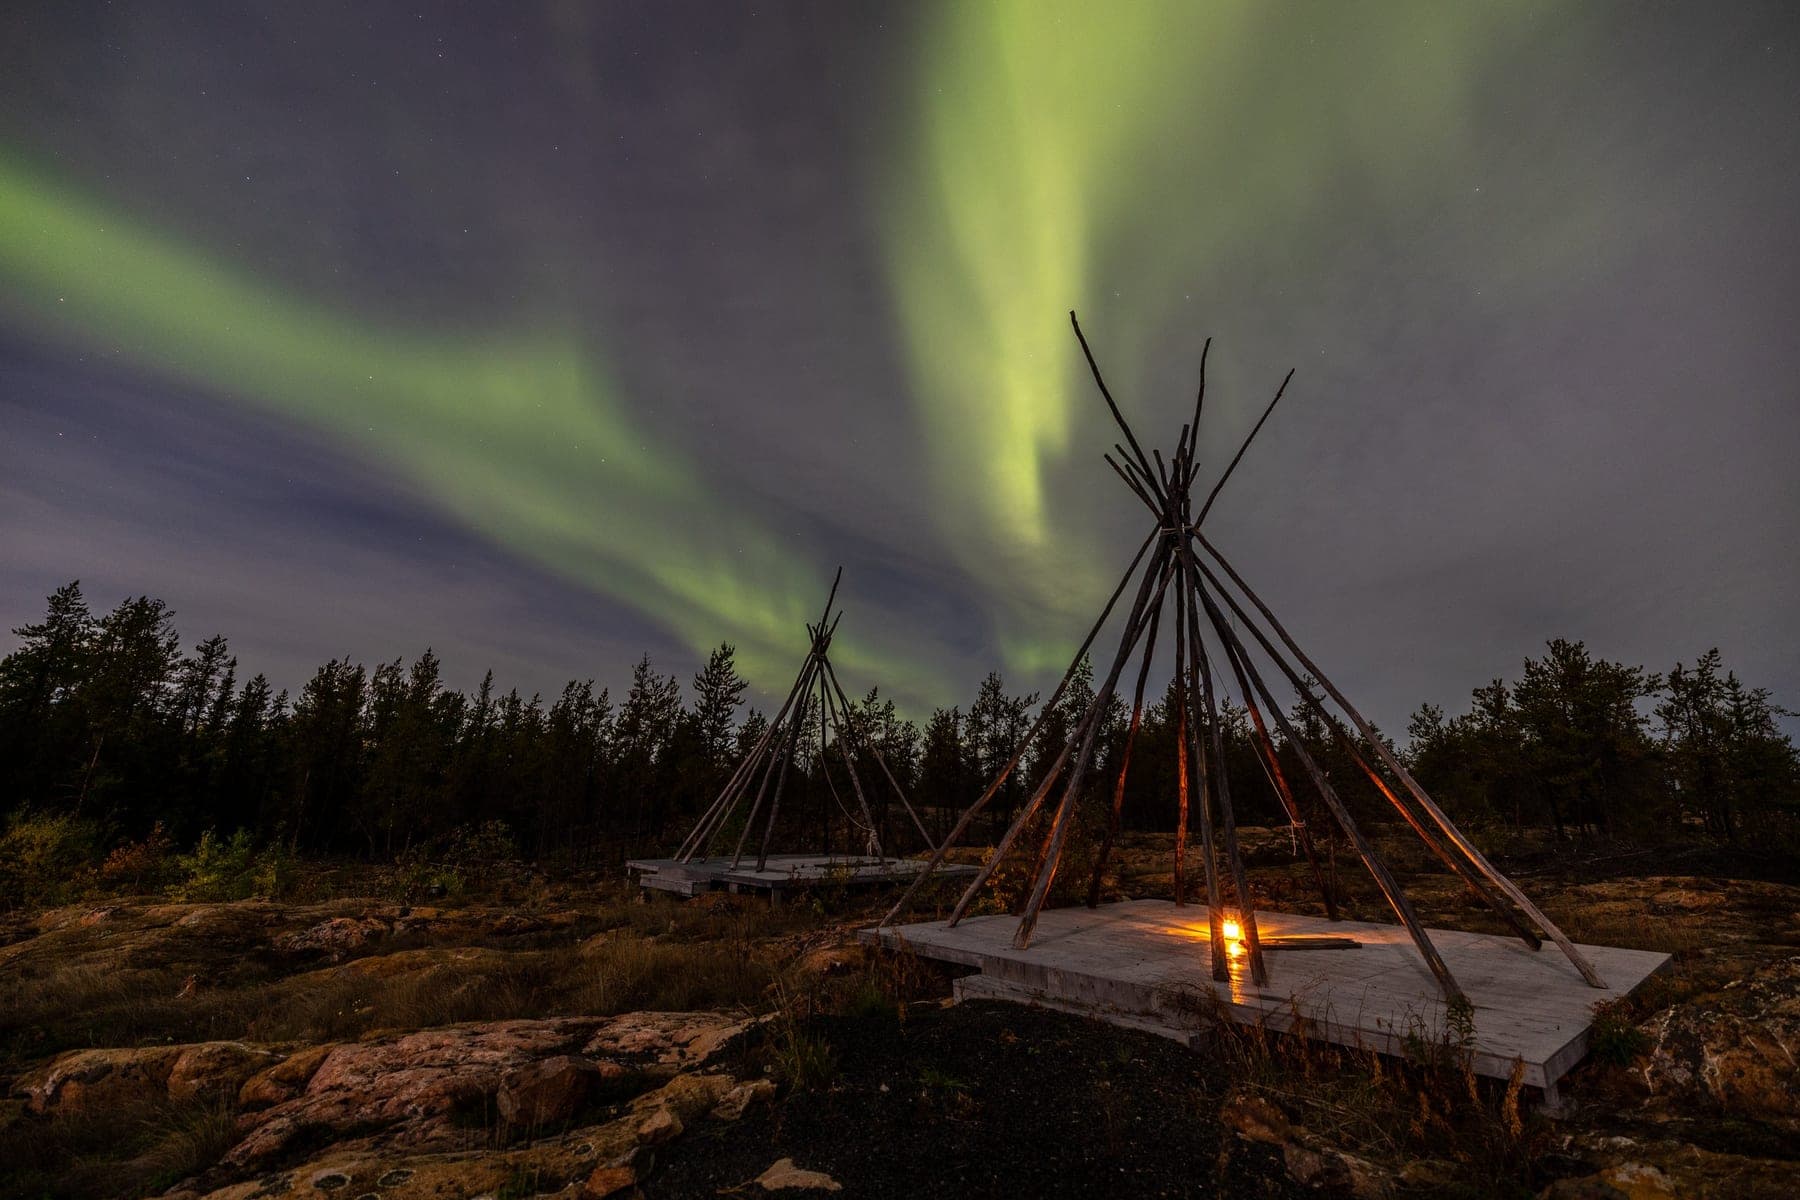
Composition in the dark
An aurora photograph of only sky is forgettable. Give it an anchor: a mountain, a lone tree, a reflection in still water, a cabin with a warm window. Set up and lock your composition while there is still a little light in the sky, so that when it breaks you are ready to shoot rather than fumbling with your tripod in the dark.
The single most common mistake is waiting for the 'perfect' moment and missing the burst. The strongest displays often come in short, sudden surges. Be set up, be focused, and shoot continuously when it goes.
Common questions
- What ISO should I use for the northern lights?
- Start at ISO 3200. Lower it toward 1600 for a very bright, active aurora; raise it toward 6400 for a faint glow. Modern cameras handle these ISOs cleanly, and a slightly noisy sharp image beats a clean blurry one.
- What shutter speed is best for the aurora?
- Between 2 and 15 seconds. Use a shorter shutter (2-4s) for a bright, fast-moving display to keep the curtain structure crisp, and a longer one (10-15s) for a faint, slow glow.
- Do I need a special camera to photograph the northern lights?
- No. Any camera with full manual control and a fast wide lens will work, including many recent phones in night mode. A dedicated mirrorless or DSLR with a tripod gives you far more control and quality.
Want to photograph these places with me?
I teach privately and lead small-group photography journeys to the locations in these guides.
Learning & journeys